Video tutorials
Short, focused walkthroughs – most under eight minutes.
🚀 Getting Started
Getting started with Vidversity
Learn how to create, structure, and publish interactive video courses in Vidversity. This guide walks you through uploading or recording media, trimming content into chapters, adding interactive elements like slides, notes, and quiz questions, and publishing or sharing your completed course via shareable links or SCORM packages.
Quick guide to getting started
Getting started with Vidversity involves a straightforward 3-step process: capturing or uploading your video content, editing the recording into segments, and assembling an interactive course.
🎓 Building Courses
How to save Powerpoint slides as images
On Windows: Open your PowerPoint file Click File → Save As Change the file type from PPT/PPTX to PNG Click Save Choose to save All Slides A new folder will be created containing all slides as individual image files On Mac: Open your PowerPoint file Click File → Export Select PNG as the format Save. Note: all slides will be exported as images Once done, you can upload the resulting PNG images wherever needed.
Recording your video within Vidversity
Step 1: Go to VidVersity & Start Recording Go to benchmark.vidversity.com. Navigate to the video upload section and prepare to begin recording with your camera. Step 2: Use Recording Controls Manage your recording session using the controls to mute audio, pause, or resume as needed. Step 3: Stop and Save Recording When you are finished, stop the recording and save the video to your library. Step 4: Open Video Editing Window Close the recorder and access the video editing window within the VidVersity application. Step 5: Prepare Video for Editing Use the editing interface to make any necessary adjustments and refinements to your saved video.
What interactions can I add
This guide demonstrates how to enhance VidVersity videos by adding interactive questions, downloadable resources, pop-up notes, glossary terms, slides, subtitles, and transition effects positioned across the video timeline.
How to upload a video
This quick guide walks through the simple workflow for uploading a local video file to Vidversity and accessing it once processing finishes.
Overview of the editor
This guide breaks down the core video editing choices in Vidversity, explaining how to split videos into chapters, cut out errors, add room for interactive features, and apply subtitles
How to add PowerPoint slides to your video
This guide explains two ways to add PowerPoint slides (saved as image files) into Vidversity video courses: either by creating organized global slideshows beforehand via the main menu, or by uploading slide images directly into a specific course chapter timeline.
Detailed User Guide - Building your first course
This complete user guide details how to upload or record videos, edit them into structured learning chapters, configure course settings and interactions, set up tracking, and publish or export the finalized course.
What kind of questions can be added to a video?
This video explains how to navigate to the question editor in Vidversity and details the different types of interactive questions you can create within a video course.
How to edit video with AI editor
Learn how to automatically generate video chapters and subtitles in Vidversity using the AI Assistant. The process involves opening the AI Video Editor, enabling auto-generated subtitles, setting your target chapter duration, fine-tuning optional content cleanup preferences (such as removing silences or banter), adding special instructions, and applying the final splits
Building your first course
Step-by-step guide to creating a course, adding lessons and getting it ready for learners.
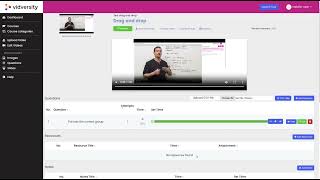
Drag and drop
How to reorder lessons, modules and content using drag and drop in the course builder.
📤 Publishing & Delivery
✨ Vidversity Plus, coming soon
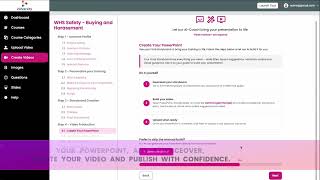
⚙️ Admin & Settings
How to set up public registration
This guide explains how to share a Vidversity course publicly while requiring learners to enter their contact details so you can capture completion analytics without restricting access.
How to privately share content
This guide explains how to restrict course access using Vidversity’s private registration mode and import specific learners individually or via bulk upload.
Learner View
Learn how learners access and navigate their personalized Vidversity portal. This quick guide covers logging into a branded private portal via a custom URL, viewing enrolled courses, resuming active training in a single click, and downloading completion certificates.
Can I sell my courses
Enable Stripe in VidVersityLog in to your VidVersity account and navigate to My Organisation. Click the Stripe tab and check Stripe Enabled. Copy the generated Webhook URL (you will use this in the next step). 2. Set Up the Account Webhook in Stripe